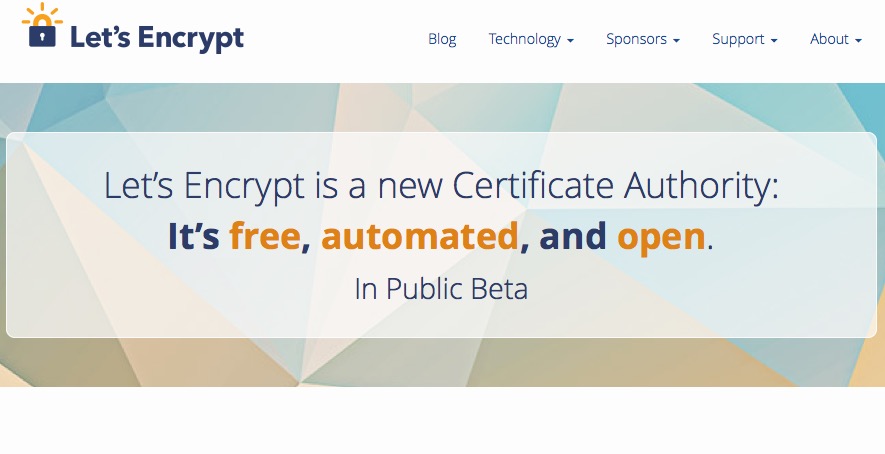
在 2015 年的 12 月,Let’s Encrypt宣佈正式的進入了 Open BETA!
可以不需要通過申請也能直接使用 Let’s Encrypt 的 API 來核發及更新 SSL 憑證了!
如果你今天擁有一台自己的主機(完整權限),那就可以直接跟著設定懶人包一起快速上手囉!
在正式開始之前,一定要先知道一下 Let’s Encrypt 的限制有什麼!就像你今天要去八卦板發個文也得要先知道一下版規一樣,目前有下列兩種限制:
- Registrations/IP address
- Certificates/Domain
Registrations/IP address
3小時內,最多允許10組申請, 這代表你應該要避免刪除 /etc/letsencrypt/accounts 資料夾,這樣才不會為過多次的申請被封鎖
原文: Registrations/IP address limits the number of registrations you can make in a given time period; currently 10 per 3 hours. This means you should avoid deleting the /etc/letsencrypt/accounts folder,or you may not be able to re-register.
Certificates/Domain
7天內,一個主domain和sub-domain加起來不能超過5個
原文: The limit on Certificates/Domain is 5 certificates for a registered domain in a sliding window of 7 days
這些限制官方目前是說會隨著時間慢慢放鬆,所以如果有那麼大量的需求只好再等等了…
安裝
首先,你的主機必須要有Git,Git的安裝請自行google嘿! 接著在/usr/src目錄下執行:
git clone https://github.com/letsencrypt/letsencrypt cd letsencrypt
非必要操作
可以先執行一次./letsencrypt-auto 執行後會進行一些設定和相依套件的安裝,安裝完成後會進入互動介面,這個時候你可以選擇依照互動模式輸入相關資訊,或是直接推出利用CLI繼續進行
簽發憑證
Apache
執行
./letsencrypt-auto --apache -d tellustek.com -m setvice@tellustek.com
Nginx
先安裝Nginx的plugin
~/.local/share/letsencrypt/bin/pip install -U letsencrypt-nginx
執行
./letsencrypt-auto --nginx -d tellustek.com -m setvice@tellustek.com


